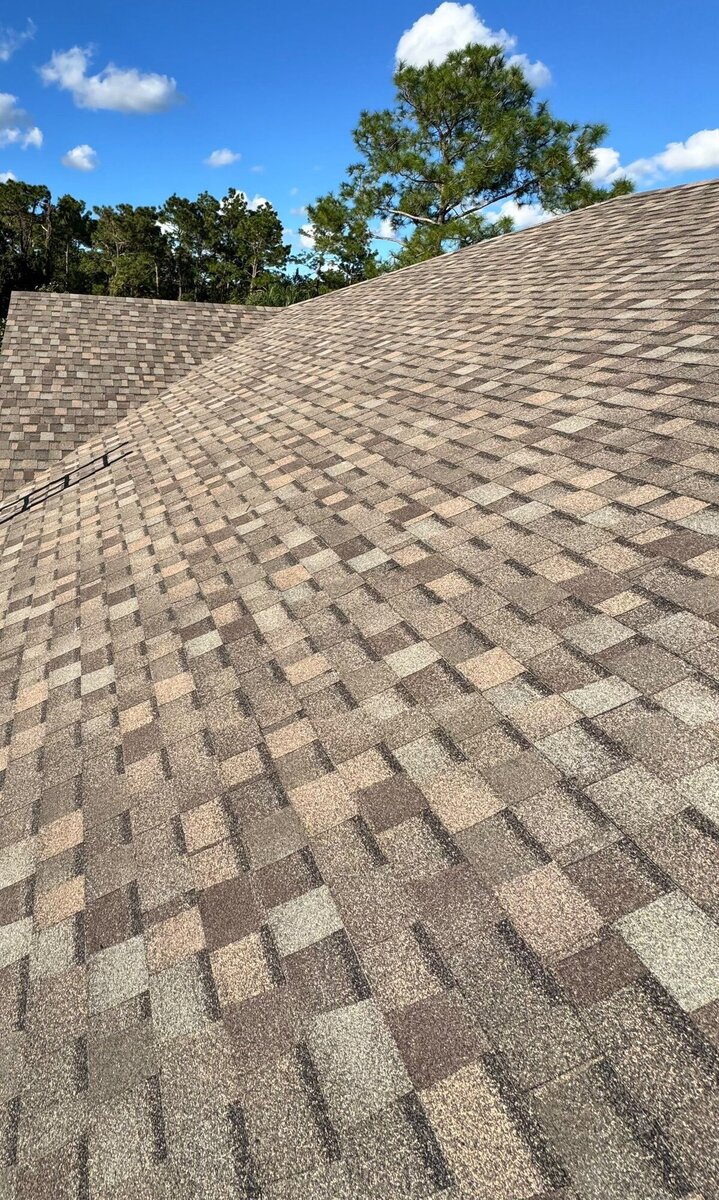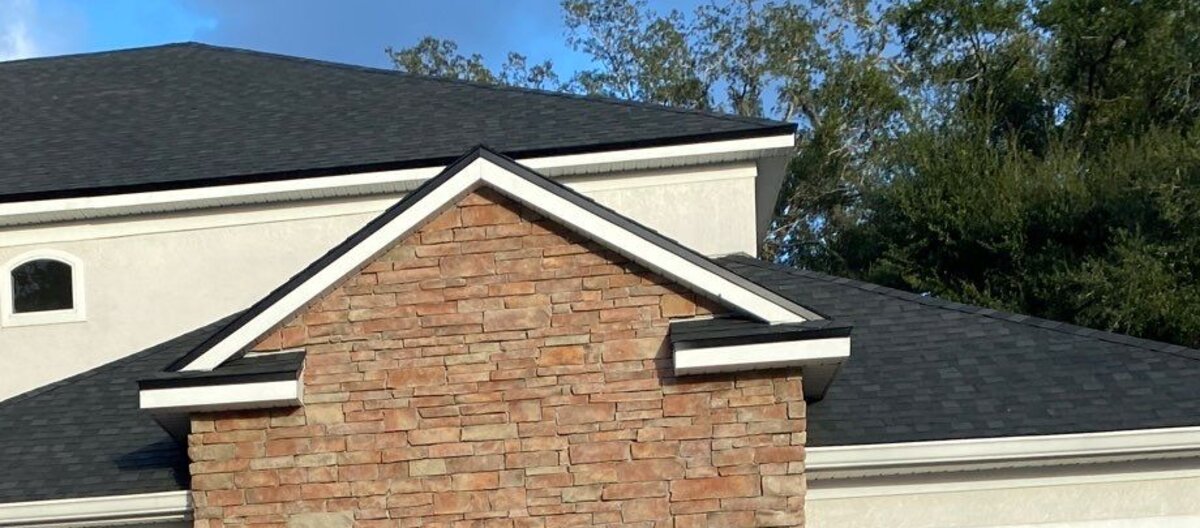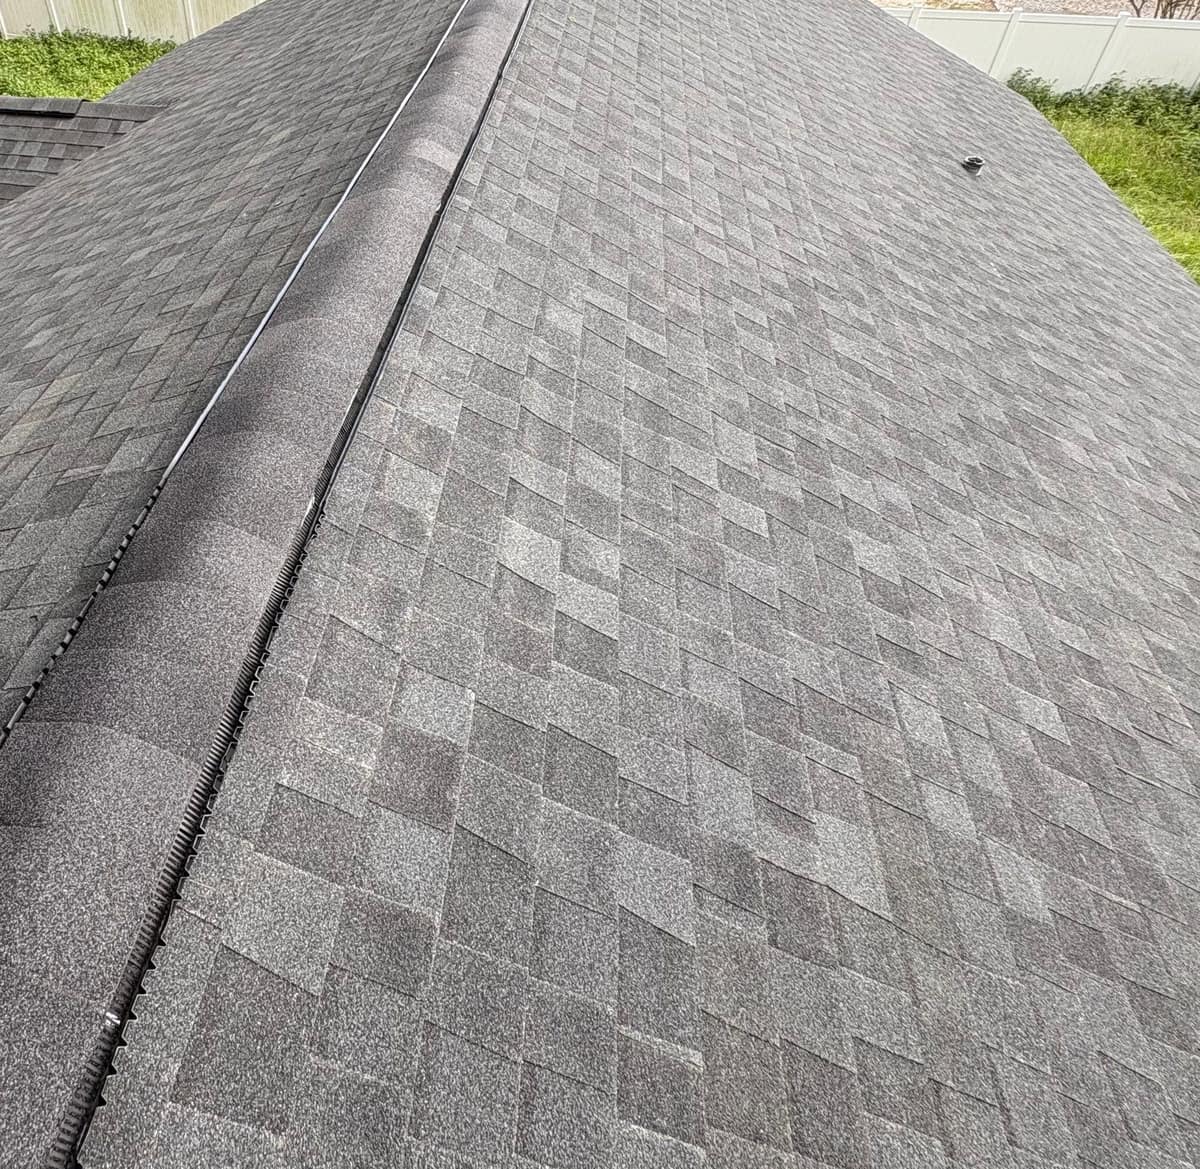
Roof Replacement in Winter Springs, FL October 2026
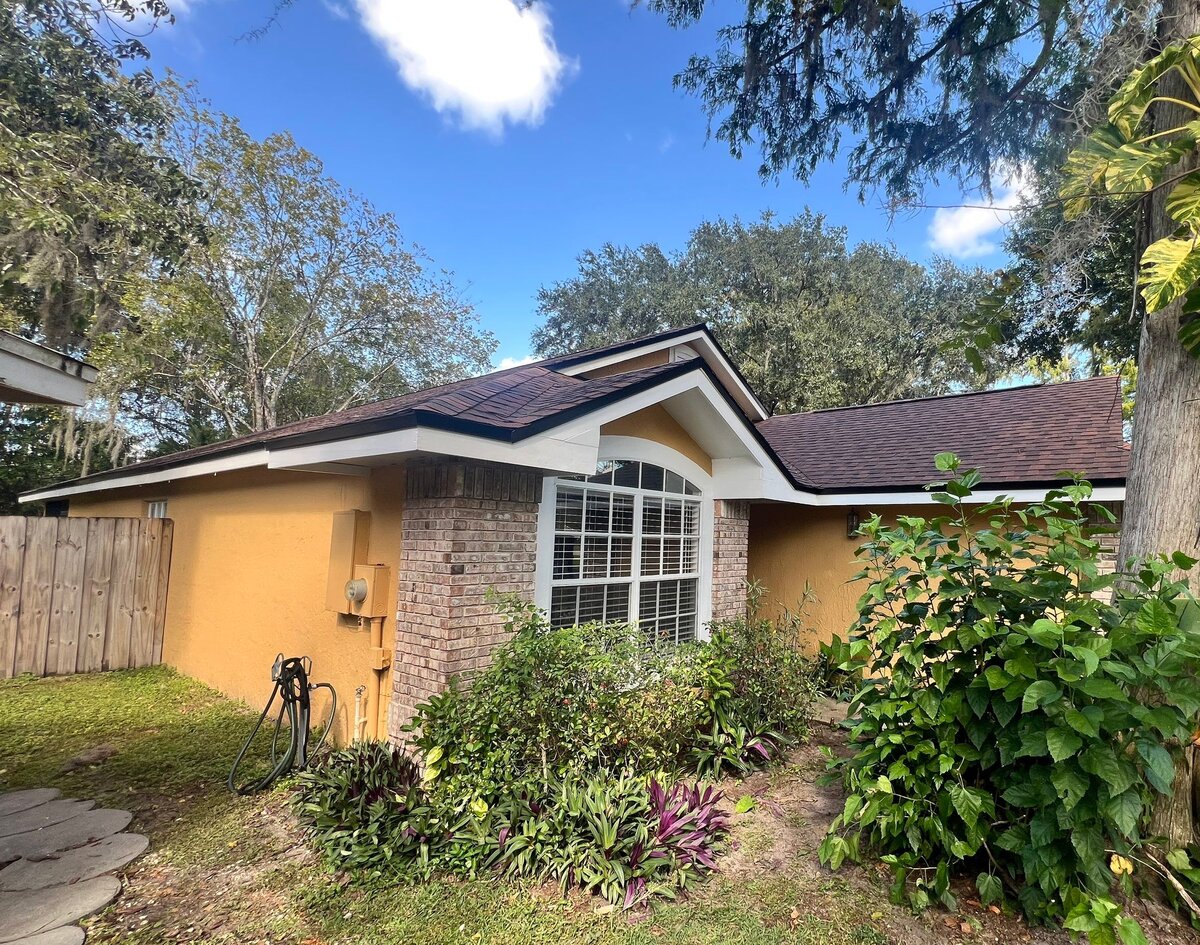
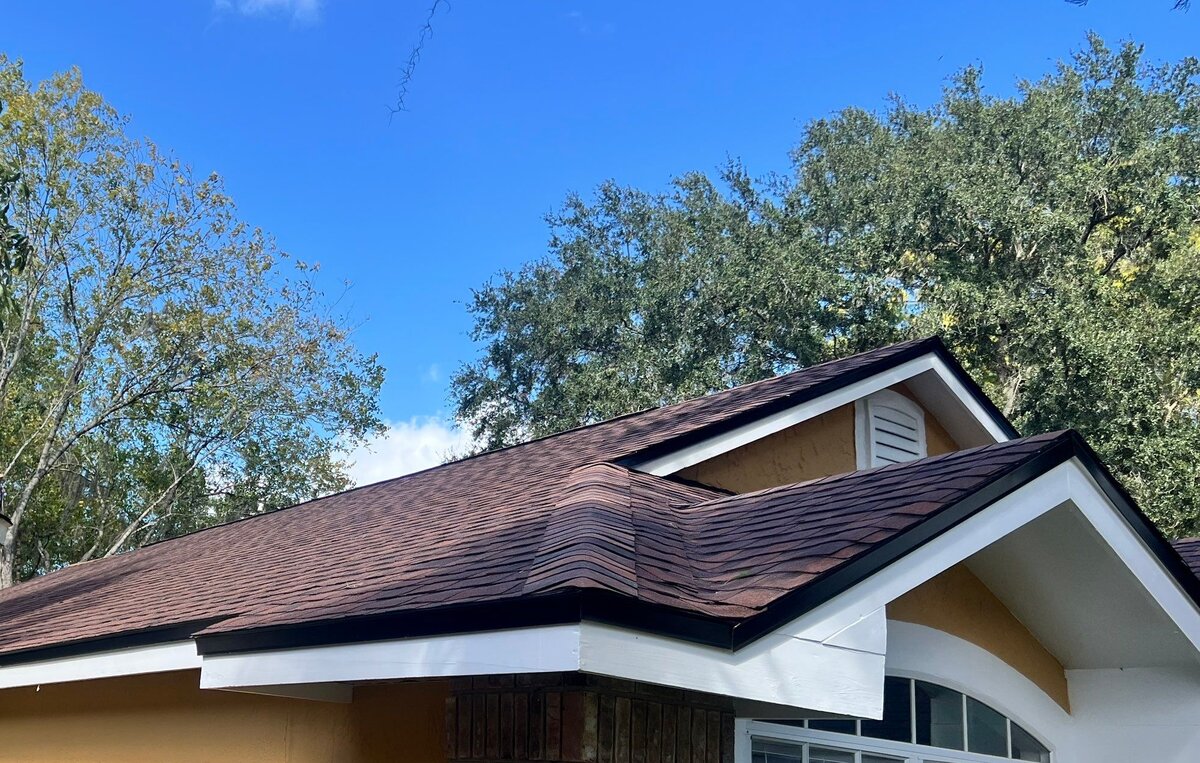
A one-story Winter Springs home in yellow stucco with brick accents, white trim and arched windows, set among tall trees. In late October 2026 the old roof came off down to the deck, and TAMKO Titan shingles in Black Walnut went on in its place.
Winter Springs project gallery.
6 photos, October 2026. Tap one for full size.
What we did
- Old shingles torn off down to the wood deck
- Bare deck inspected and measured
- Synthetic underlayment over the deck and black drip edge at the eaves
- TAMKO Titan shingles in Black Walnut
- New flashings at the vent pipes and roof vents
At a glance
- Roof
- One-story roof, gables and a hip
- Product
- TAMKO Titan, Black Walnut
- Details
- Black drip edge, new vent flashings
- Setting
- Yellow stucco and brick under tall trees
Watch the finished roof
What you are looking at
The first photo is from the side yard on the day the job finished. The new roof runs over yellow stucco and a brick column, with a gable stepping forward over the arched window and white trim along every eave. Tall trees stand all around the lot. The shingles are TAMKO Titan in Black Walnut, the color named on the job's product label, and in the shade they read as a dark brown.
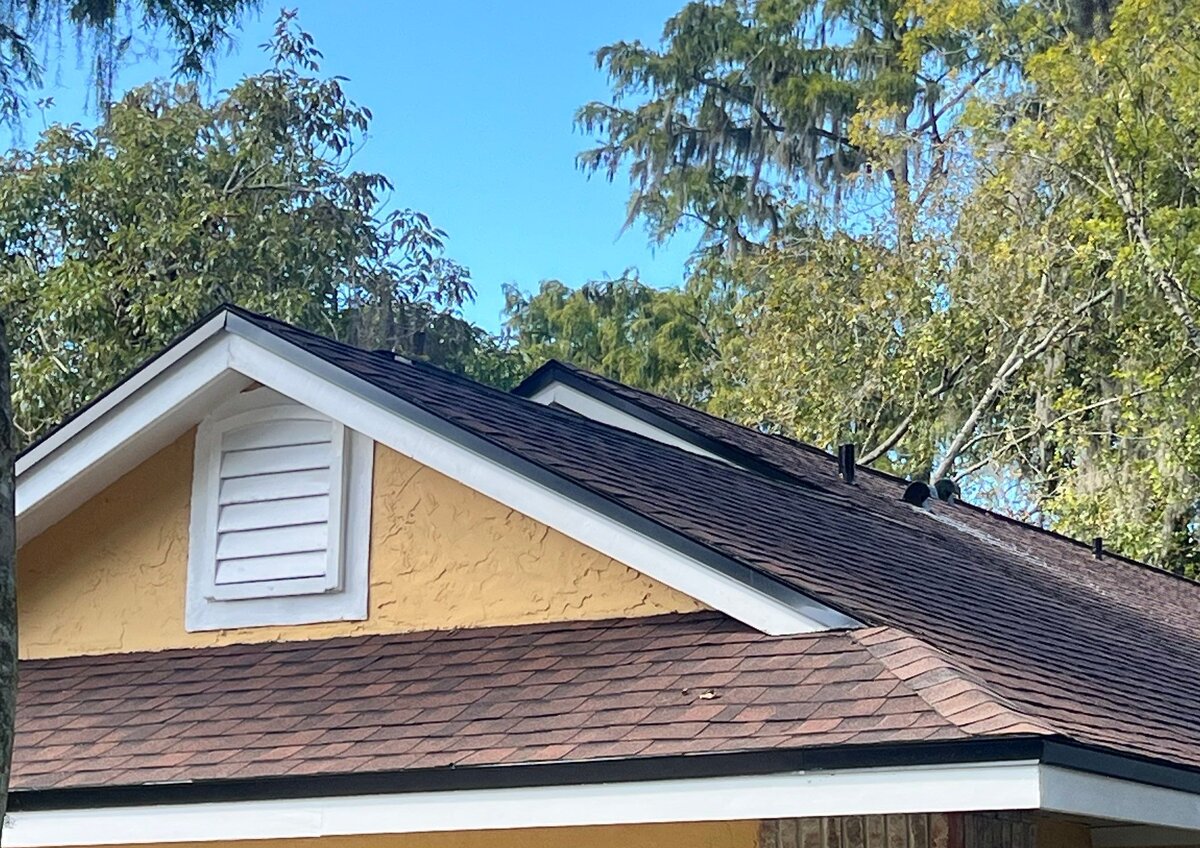
Photo two moves in on the same corner. Where the shingles end, a black drip edge wraps the roof edge above the white fascia. Drip edge is the metal strip at the eave that throws water clear of the roof, so it does not wick back under the shingles and into the wood behind the trim. Central Florida summers bring hard afternoon rain, and every drop that reaches this edge drips clear of the trim.
In photo three the sun is full on the garage side, and the same Black Walnut shingles turn a warmer red-brown. The color shift comes from the light. The whole roof is one shingle, and it moves between brown and red-brown as the sun crosses it. A white louvered vent sits in the gable, and vent pipes and hooded vents stand along the upper slope.
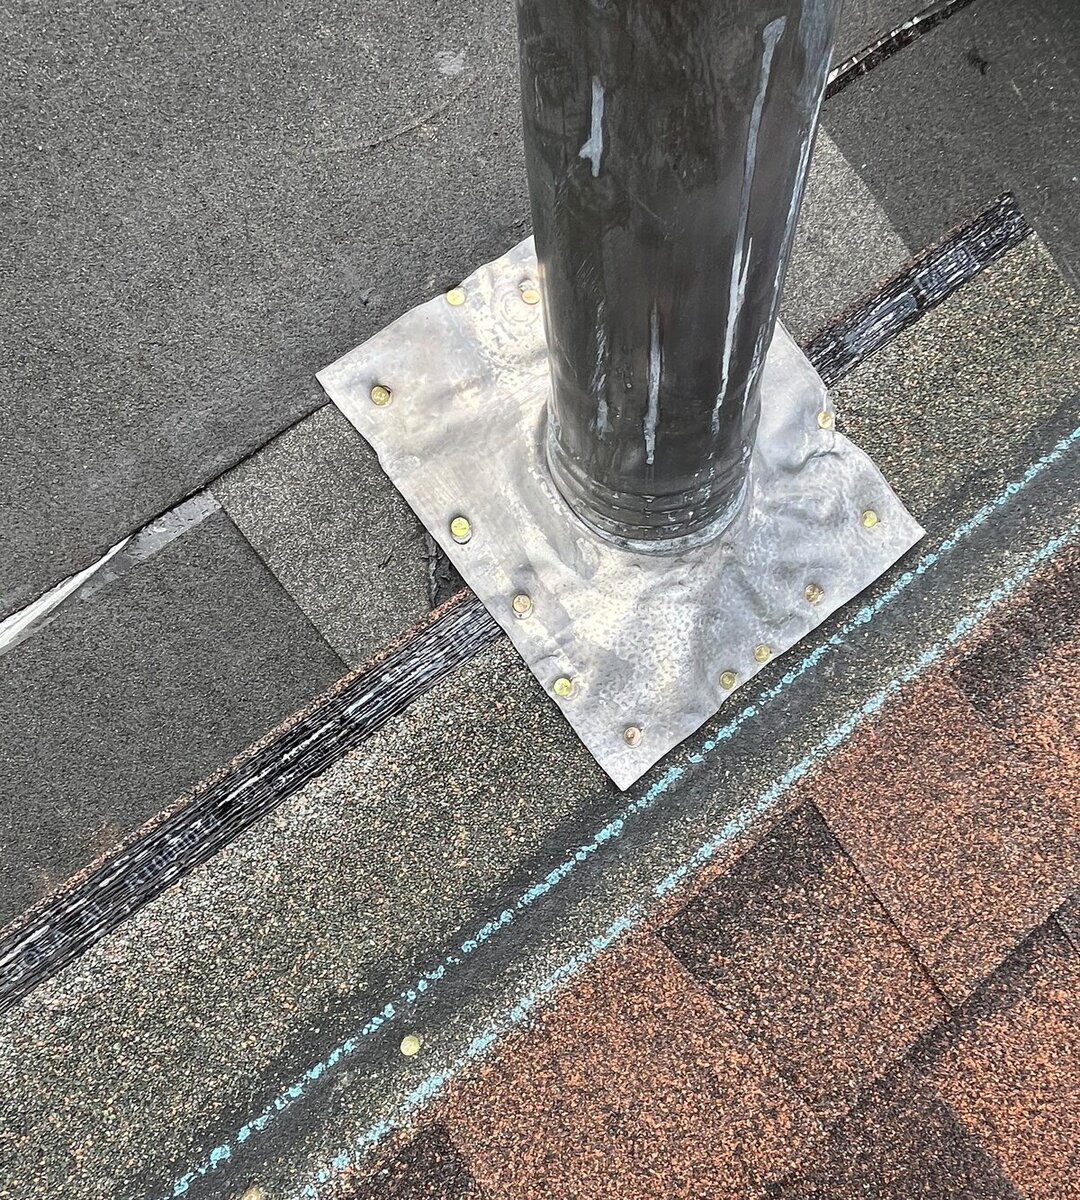
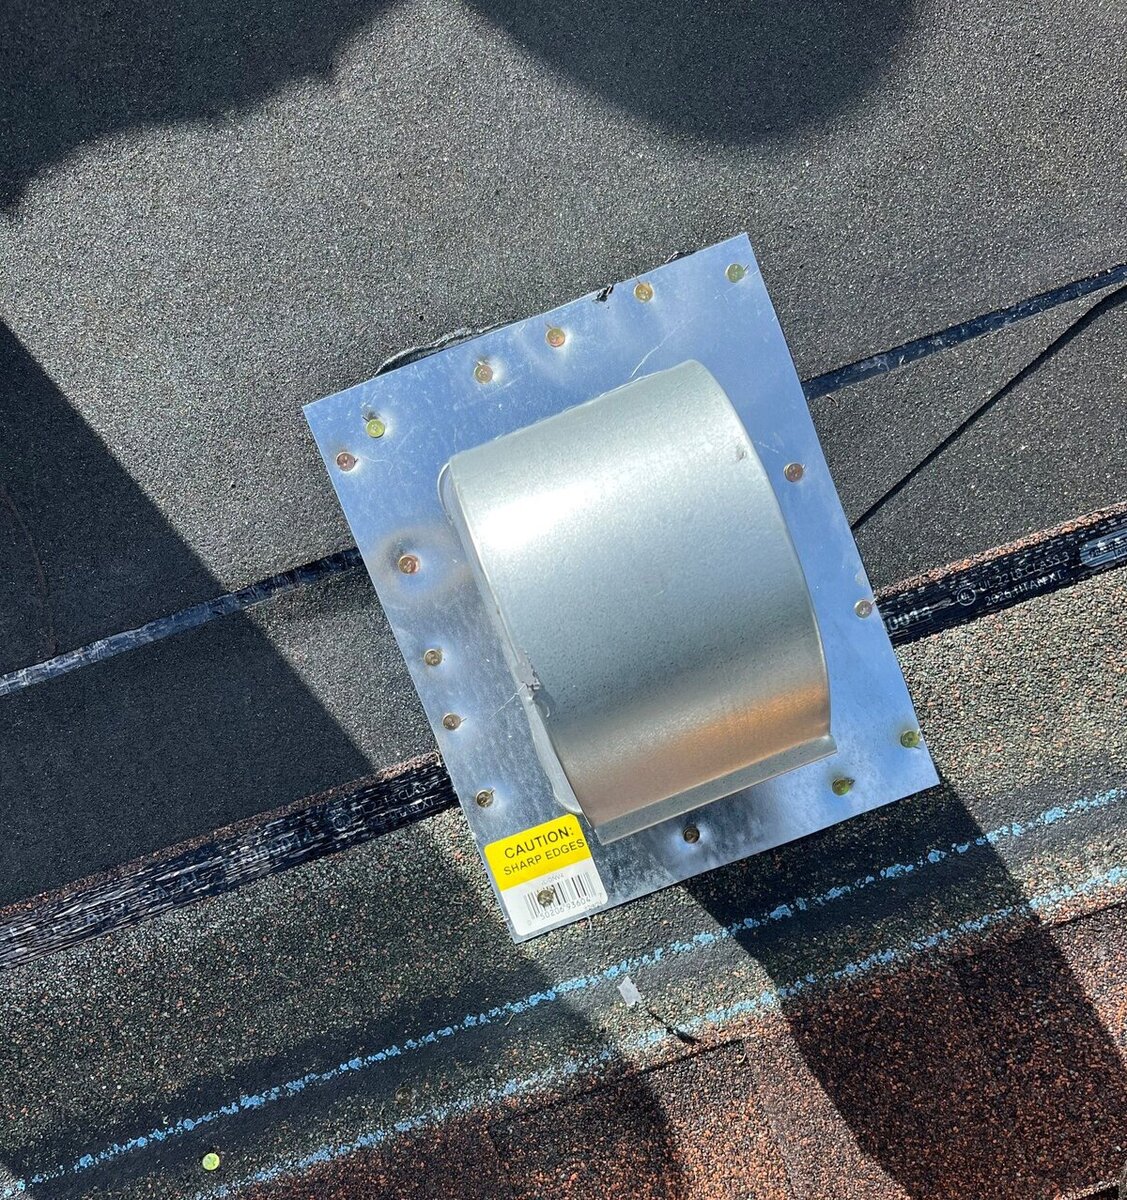
Photos four and five were taken on the roof while the new shingles were going on. Every pipe or vent that comes through a roof is a hole in it, so each one gets its own flashing, a metal piece worked in with the shingle courses so water runs around the opening instead of into it. Photo four shows a metal flashing nailed around a vent pipe. Photo five shows a hooded vent on a wide metal flange, nailed down the same way. The blue chalk lines keep each course straight, and the gray layer above is synthetic underlayment, a water resistant sheet laid over the deck before any shingles.
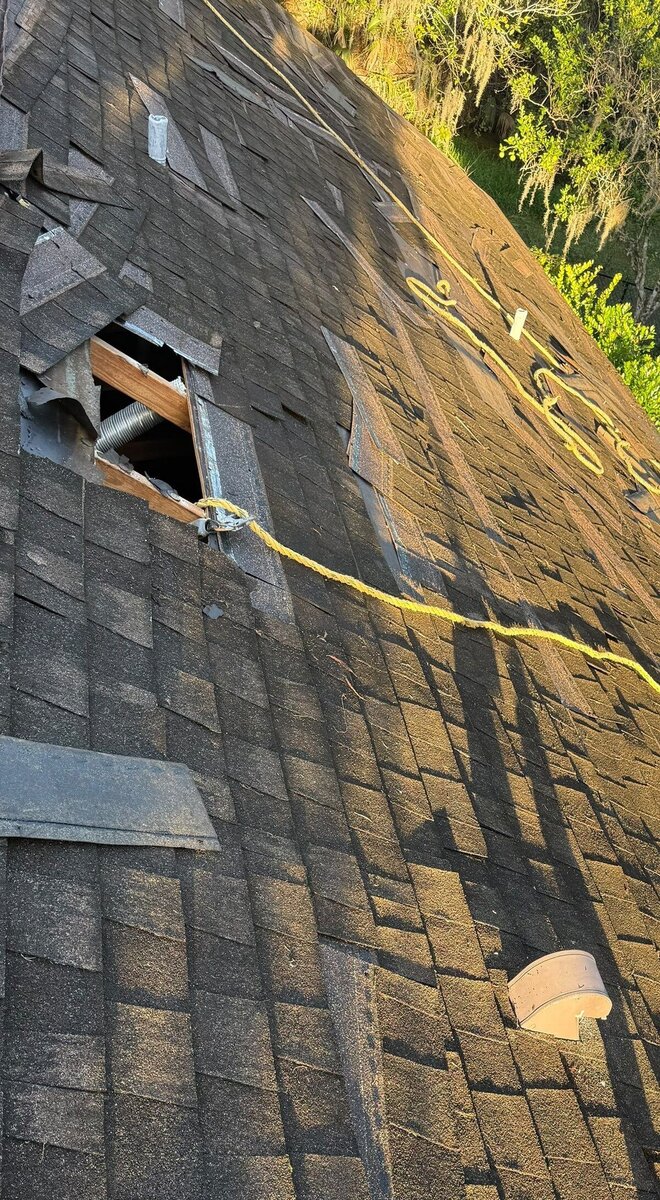
The last photo goes back to the first day. The old roof was a dark, weathered architectural shingle, and one old vent had already been pulled, leaving an open hole. All of it came off that day, down to the wood deck. With the deck bare, it was inspected and measured before the underlayment, the drip edge and the new Titan shingles went down.